If your shoes feel fine at mile 2 but terrible at mile 6, you are experiencing one of the most common yet poorly understood phenomena in distance running. That initial comfort lulls you into a false sense of security, only to have your feet revolt against you halfway through your run. This disconnect between early-run comfort and late-run agony has derailed countless training sessions, ruined race days, and left runners questioning whether they chose the wrong shoes entirely. The problem is that most runners select footwear based on how shoes feel during a quick jog around the store or the first mile of a test run. This approach fundamentally misunderstands how feet behave under the sustained stress of distance running.
Your feet at mile 6 are physiologically different from your feet at mile 2″”they are larger, hotter, more fatigued, and biomechanically altered by the cumulative impact of thousands of steps. What works for the first fifteen minutes of running may become a source of blisters, numbness, or joint pain as the miles accumulate. By the end of this article, you will understand exactly why this shoe comfort paradox occurs and what you can do about it. We will examine the science of foot swelling during exercise, the role of muscle fatigue in altering your gait, how heat buildup affects fit, and why certain shoe designs fail under extended use. Armed with this knowledge, you can make smarter footwear decisions, adjust your lacing techniques, and finally achieve consistent comfort from the first step to the last.
Table of Contents
- Why Do Running Shoes Feel Good Early but Hurt Later in Your Run?
- The Science of Foot Swelling and Shoe Fit During Distance Running
- How Muscle Fatigue Changes Your Running Gait and Shoe Requirements
- Choosing Running Shoes That Feel Comfortable for the Entire Run
- Common Shoe Fit Problems That Only Appear at Mile 6 and Beyond
- The Role of Sock Choice and Lacing Technique in Late-Run Comfort
- How to Prepare
- How to Apply This
- Expert Tips
- Conclusion
- Frequently Asked Questions
Why Do Running Shoes Feel Good Early but Hurt Later in Your Run?
The primary culprit behind shoes feeling good early but hurting later in your run is foot volume expansion. During running, blood flow to your feet increases dramatically to support the working muscles and regulate temperature. This increased circulation, combined with the repetitive impact of foot strikes, causes your feet to swell by approximately half a shoe size over the course of a run. Research published in the Journal of Foot and Ankle Research found that foot volume can increase by 5-10% during sustained exercise, with the most significant changes occurring between minutes 20 and 40 of activity.
This swelling creates a cascade of fit problems. A shoe that felt perfectly snug at the start becomes progressively tighter as your foot expands. The toe box that offered adequate room begins to compress your toes together. The upper that sat comfortably against your midfoot starts to create pressure points. The heel counter that held your foot securely may begin to slip as your foot’s shape changes, causing friction and eventual blisters.
- **Volume expansion**: Feet can swell up to 8% during a typical training run
- **Temperature increase**: Foot temperature rises 10-15 degrees Fahrenheit during exercise
- **Arch flattening**: Fatigue causes gradual arch collapse, lengthening the foot
- **Tissue compression**: Repeated impact compresses the fat pad under your heel and forefoot
The Science of Foot Swelling and Shoe Fit During Distance Running
Understanding foot swelling during distance running requires examining the interplay between circulatory demands and mechanical stress. When you run, your cardiovascular system redirects blood flow toward working muscles, including the intrinsic muscles of your feet. This process, called exercise hyperemia, delivers oxygen and removes metabolic waste but also increases fluid volume in your extremities. Gravity compounds this effect””with each foot strike, blood is forced downward, and the one-way valves in your leg veins work overtime to return it to your heart.
The mechanical component is equally significant. Each foot strike generates impact forces of 2-3 times your body weight. Over the course of a 6-mile run at a typical cadence of 170 steps per minute, each foot absorbs roughly 5,000 impacts. This repetitive loading causes microtrauma to soft tissues, triggering an inflammatory response that further increases fluid accumulation. The plantar fascia, Achilles tendon, and fat pads all experience this effect, subtly changing the geometry of your foot inside the shoe.
- **Hydrostatic pressure**: Running increases pressure in lower extremity blood vessels by 40-60%
- **Impact accumulation**: A 10K run subjects each foot to approximately 8,000-10,000 impacts
- **Inflammatory response**: Mild tissue inflammation begins around 20-30 minutes of continuous running
- **Lace tension changes**: Upper materials stretch and settle, altering fit dynamics throughout a run
How Muscle Fatigue Changes Your Running Gait and Shoe Requirements
Muscle fatigue fundamentally alters how your foot interacts with your shoe as miles accumulate. Fresh muscles maintain proper biomechanical alignment””your arch stays supported, your ankle remains stable, and your foot strikes the ground in a controlled pattern. As fatigue sets in, these stabilizing muscles begin to fail. The posterior tibialis, which supports your arch, weakens. The peroneals, which control lateral stability, become less responsive.
The result is a subtle but progressive change in how your foot moves inside the shoe. This fatigue-induced gait deterioration explains why many runners develop problems specifically in the later miles. A foot that pronated normally at mile 2 may overpronate significantly by mile 6 as the arch collapses under accumulated stress. This increased pronation stretches the medial upper of the shoe, creates new pressure points, and may cause the heel to slip. Similarly, runners whose form breaks down into a heavier heel strike will experience increased pressure on the heel counter and greater demand on the shoe’s cushioning system””which itself may be compressed and less responsive than it was at the start.
- **Arch collapse**: Studies show arch height decreases 3-5mm over a 10K distance
- **Pronation increase**: Rearfoot eversion angles increase 2-4 degrees as fatigue develops
- **Cadence changes**: Step rate typically drops 3-5% in fatigued runners, increasing ground contact time
- **Impact absorption shifts**: More stress transfers to passive structures as active muscle control diminishes
Choosing Running Shoes That Feel Comfortable for the Entire Run
Selecting running shoes that feel comfortable for the entire run requires thinking beyond that initial try-on impression. The most reliable approach is to shop for shoes late in the day when your feet have already experienced normal daily swelling, then add approximately a thumb’s width of space between your longest toe and the end of the shoe. This built-in room accommodates the additional expansion that occurs during running without leaving so much space that your foot slides around at the start.
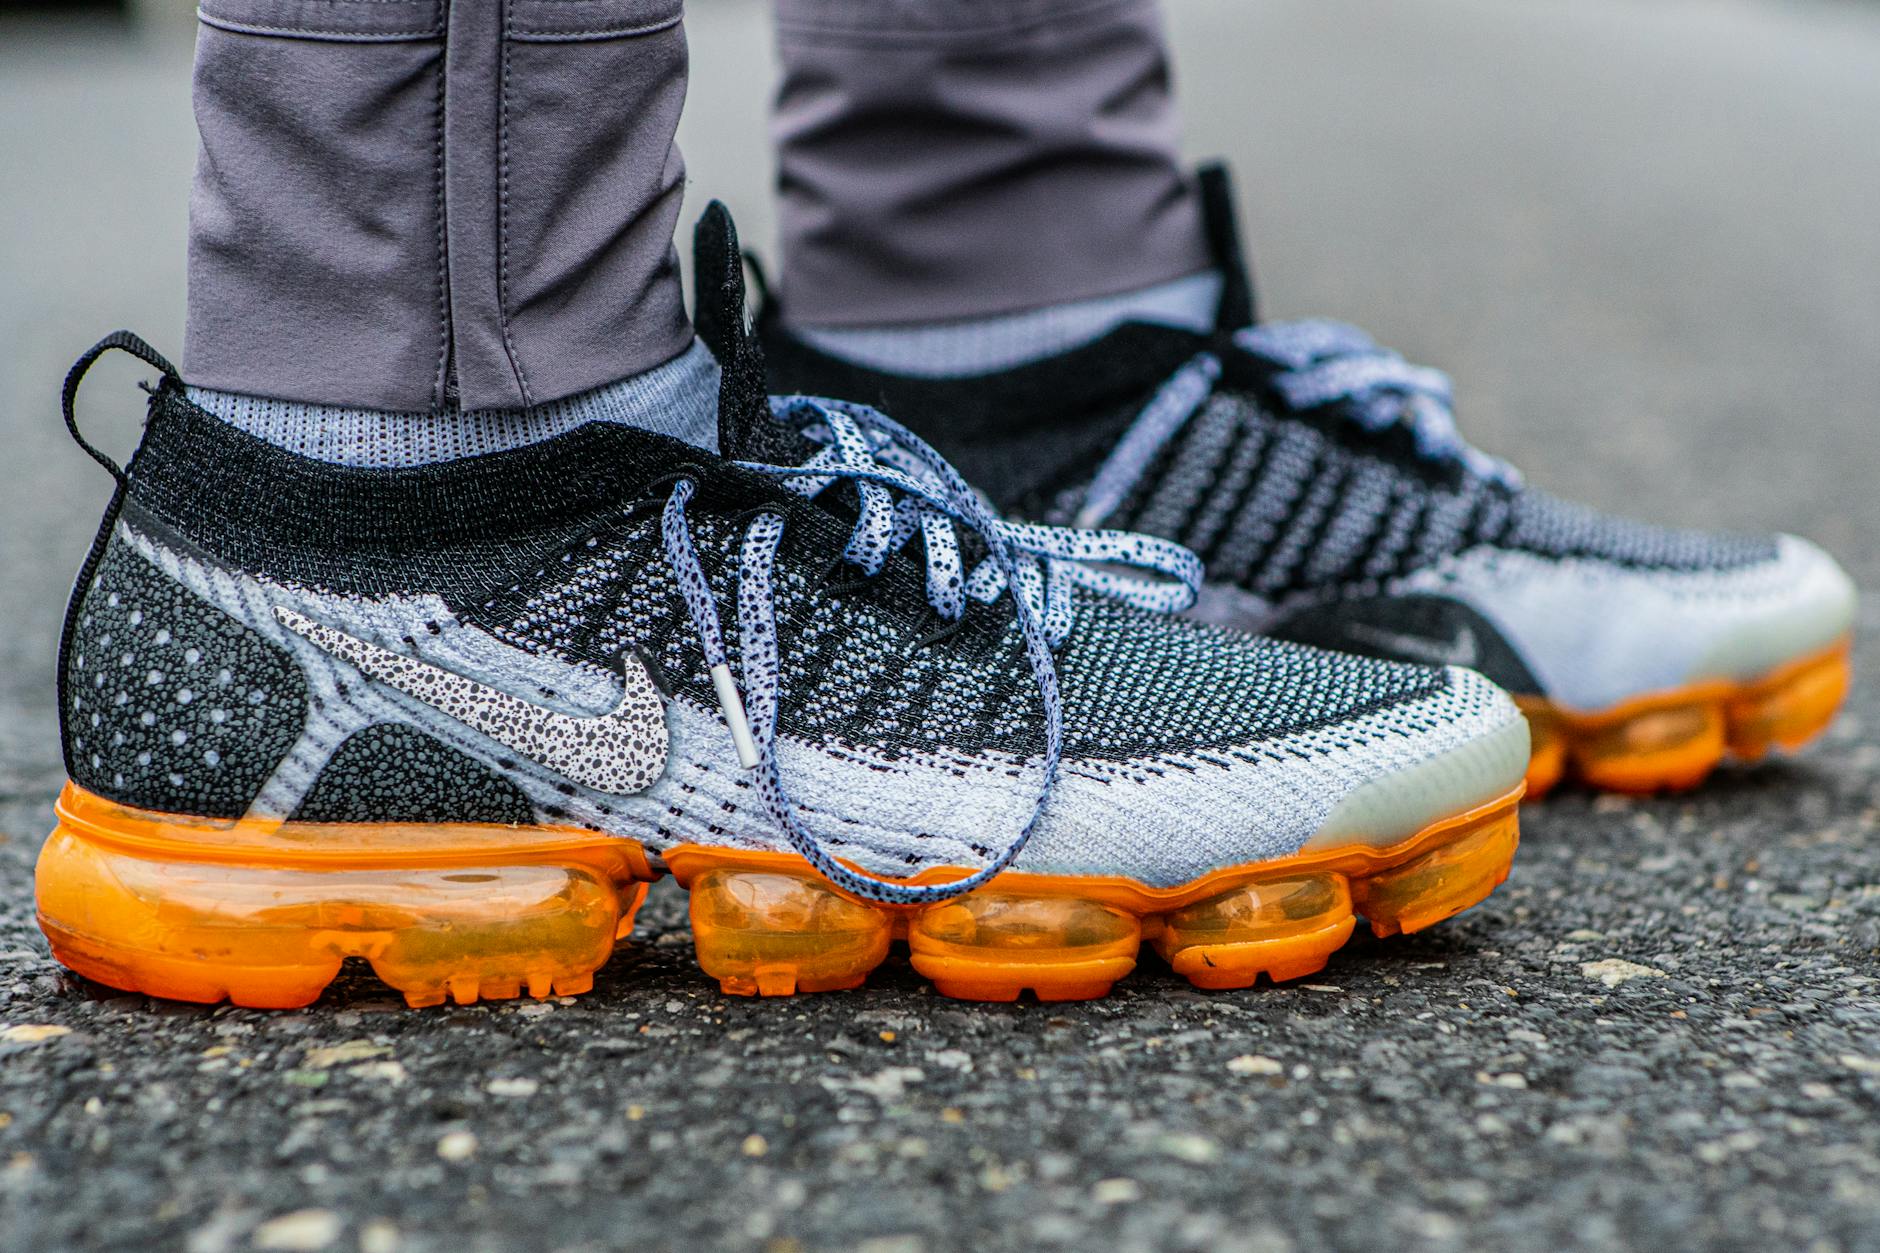
Material selection plays a critical role in all-run comfort. Engineered mesh uppers with strategic stretch zones adapt better to foot expansion than rigid synthetic overlays. Look for shoes with gusseted tongues that prevent the tongue from shifting as your foot swells and changes shape. The midsole compound matters too””softer foams like Nike ZoomX or Saucony PWRRUN+ maintain more of their cushioning properties over extended distances compared to firmer, denser materials that pack out quickly.
- **Sizing strategy**: Buy shoes a half size larger than your casual footwear
- **Width options**: Consider wide versions if you have any toe cramping late in runs
- **Upper flexibility**: Prioritize knit or mesh uppers over rigid synthetic materials
- **Midsole resilience**: Choose foams designed to maintain energy return properties over extended use
- **Heel collar padding**: Adequate padding prevents slippage without creating pressure points
Common Shoe Fit Problems That Only Appear at Mile 6 and Beyond
Several specific fit problems remain hidden during short test runs but emerge reliably at mile 6 and beyond. Toe box cramping is perhaps the most prevalent””the shoes feel fine initially, but as your forefoot spreads and swells, you begin to experience numbness, tingling, or the painful sensation of toes being forced together. This is especially common in shoes with tapered toe boxes designed more for aesthetics than function. Hot spots and blisters represent another category of delayed-onset problems.
The combination of heat, moisture, and repetitive friction takes time to break down skin integrity. A seam that barely registers at mile 2 may have rubbed your skin raw by mile 6. Similarly, heel slippage that seems minor early in a run leads to significant blistering as the cumulative friction exceeds your skin’s tolerance. The fat pad under your forefoot, which provides natural cushioning, also compresses over time””shoes with inadequate forefoot cushioning may feel acceptable initially but cause metatarsal pain as this natural padding thins under repeated impact.
- **Metatarsal compression**: Forefoot pain increases as natural fat pad cushioning compresses
- **Lace pressure**: Top-of-foot pain emerges as swelling increases tension against laces
- **Arch cramping**: Inadequate or excessive arch support becomes apparent as foot muscles fatigue
- **Heel counter breakdown**: Some shoes lose structural integrity in the heel after 20-30 minutes of heat and stress
- **Tongue migration**: Poorly designed tongues shift laterally, creating new pressure points mid-run

The Role of Sock Choice and Lacing Technique in Late-Run Comfort
Your shoes do not operate in isolation””sock selection and lacing technique significantly influence whether comfort persists or collapses in the later miles. Moisture-wicking synthetic or merino wool socks help manage the sweat that accumulates in shoes, reducing friction and the skin breakdown that causes blisters. Avoid cotton socks entirely for distance running, as they absorb moisture, bunch up, and create friction points exactly when your feet are most vulnerable.
Lacing adjustments can address many fit problems that emerge during longer runs. The heel lock technique (also called the runner’s loop) uses the extra eyelet at the top of most running shoes to create a more secure heel fit without overtightening the rest of the shoe. If you experience top-of-foot pressure as your feet swell, try skipping the middle eyelets to create more vertical space. Some runners benefit from lacing loosely at the start of a run with the intention of tightening slightly at a planned stop around mile 3 or 4.
How to Prepare
- **Shop at the right time**: Visit running specialty stores in the late afternoon or evening when your feet are at their largest daily size. If possible, visit after a short run to simulate exercise-induced swelling. This ensures you are fitting shoes to the foot volume you will actually have during the majority of your run.
- **Test for length and width**: Stand in the shoes with your running socks on. You should have approximately a thumb’s width (about half an inch) between your longest toe and the end of the shoe. Check width by pressing on the sides of the toe box””you should be able to wiggle all toes freely without significant pressure on the pinky toe or big toe.
- **Evaluate heel security**: With the shoe laced normally, try to slip your heel out by lifting it while keeping the forefoot planted. Some movement is acceptable, but excessive slippage will cause blisters during longer runs. Test with a heel lock lacing pattern if standard lacing feels insecure.
- **Request extended test runs**: Many specialty running stores offer 30-day return policies or treadmill testing. Take advantage of these by running at least 20-30 minutes in the shoes before committing. Pay attention to any hot spots, pressure points, or early signs of discomfort.
- **Document your findings**: Keep notes on how different shoes feel at different distances during your first few runs. This creates a personal reference for future purchases and helps you identify patterns in what works for your feet.
How to Apply This
- **Implement progressive testing**: When you get new shoes, do not immediately use them for your longest run. Start with 2-3 mile runs, then progress to 4-5 miles, then use them for your full distance. This staged approach reveals any delayed-onset fit problems before they ruin an important training session.
- **Develop a lacing rotation strategy**: Learn at least three lacing patterns””standard, heel lock, and a loose midfoot variation. Practice switching between them so you can adjust on the fly during a run when problems emerge. Keep your laces loose enough initially to accommodate swelling.
- **Establish a mid-run check-in habit**: At around mile 3 or 4 of longer runs, take a brief mental inventory of your feet. Note any emerging pressure points, heat, or discomfort. If you catch problems early, a quick stop to adjust laces or remove debris can prevent a small issue from becoming a run-ending problem.
- **Rotate multiple pairs**: Having 2-3 pairs of running shoes that you rotate prevents any single pair from accumulating excessive wear and allows you to match shoes to different run lengths and intensities.
Expert Tips
- **Pay attention to the break-in period skeptically**: If shoes do not feel close to comfortable on the first run, they are unlikely to improve dramatically. Modern running shoes require minimal break-in, so significant early discomfort usually indicates a fit problem rather than a shoe that needs time.
- **Consider your running surface**: Trail shoes with protective rock plates and aggressive lugs may feel fine on actual trails but become uncomfortable on roads as the stiffer construction fatigues your feet differently. Match shoes to your primary running environment.
- **Track shoe mileage separately for different distances**: A pair of shoes may have plenty of cushioning life left for 5K runs but be too compressed for comfortable marathon training. Monitor how shoes feel at different distances, not just total accumulated miles.
- **Address asymmetry directly**: Most runners have slightly different sized feet. If one foot consistently develops problems before the other, consider trying a half size up on that foot only””some specialty stores will sell mismatched sizes.
- **Replace shoes before obvious breakdown**: The cushioning and support properties of running shoes degrade well before visible wear appears. If shoes that once felt comfortable for 6 miles now only feel good for 3, the internal foam may be compressed even if the outsole looks fine.
Conclusion
The phenomenon of shoes feeling fine at mile 2 but terrible at mile 6 is not a mystery once you understand the physiological changes your feet undergo during sustained running. Foot swelling, muscle fatigue, heat accumulation, and biomechanical breakdown all conspire to transform your relationship with your shoes as miles accumulate. The shoe that passed a quick store test or a short shakeout run was evaluated under conditions that do not reflect the demands of actual distance running. Armed with this knowledge, you can approach shoe selection and fitting with appropriate skepticism about early impressions.
Prioritize shoes with room for expansion, materials that adapt to volume changes, and designs that maintain their performance characteristics over extended use. Test new shoes progressively before trusting them for important runs. Pay attention to what your feet tell you at mile 6, not mile 2″”that later feedback is the honest assessment of whether a shoe truly works for you. With patience and systematic evaluation, you can find shoes that deliver consistent comfort from the first step to the finish line.
Frequently Asked Questions
How long does it typically take to see results?
Results vary depending on individual circumstances, but most people begin to see meaningful progress within 4-8 weeks of consistent effort. Patience and persistence are key factors in achieving lasting outcomes.
Is this approach suitable for beginners?
Yes, this approach works well for beginners when implemented gradually. Starting with the fundamentals and building up over time leads to better long-term results than trying to do everything at once.
What are the most common mistakes to avoid?
The most common mistakes include rushing the process, skipping foundational steps, and failing to track progress. Taking a methodical approach and learning from both successes and setbacks leads to better outcomes.
How can I measure my progress effectively?
Set specific, measurable goals at the outset and track relevant metrics regularly. Keep a journal or log to document your journey, and periodically review your progress against your initial objectives.
When should I seek professional help?
Consider consulting a professional if you encounter persistent challenges, need specialized expertise, or want to accelerate your progress. Professional guidance can provide valuable insights and help you avoid costly mistakes.
What resources do you recommend for further learning?
Look for reputable sources in the field, including industry publications, expert blogs, and educational courses. Joining communities of practitioners can also provide valuable peer support and knowledge sharing.